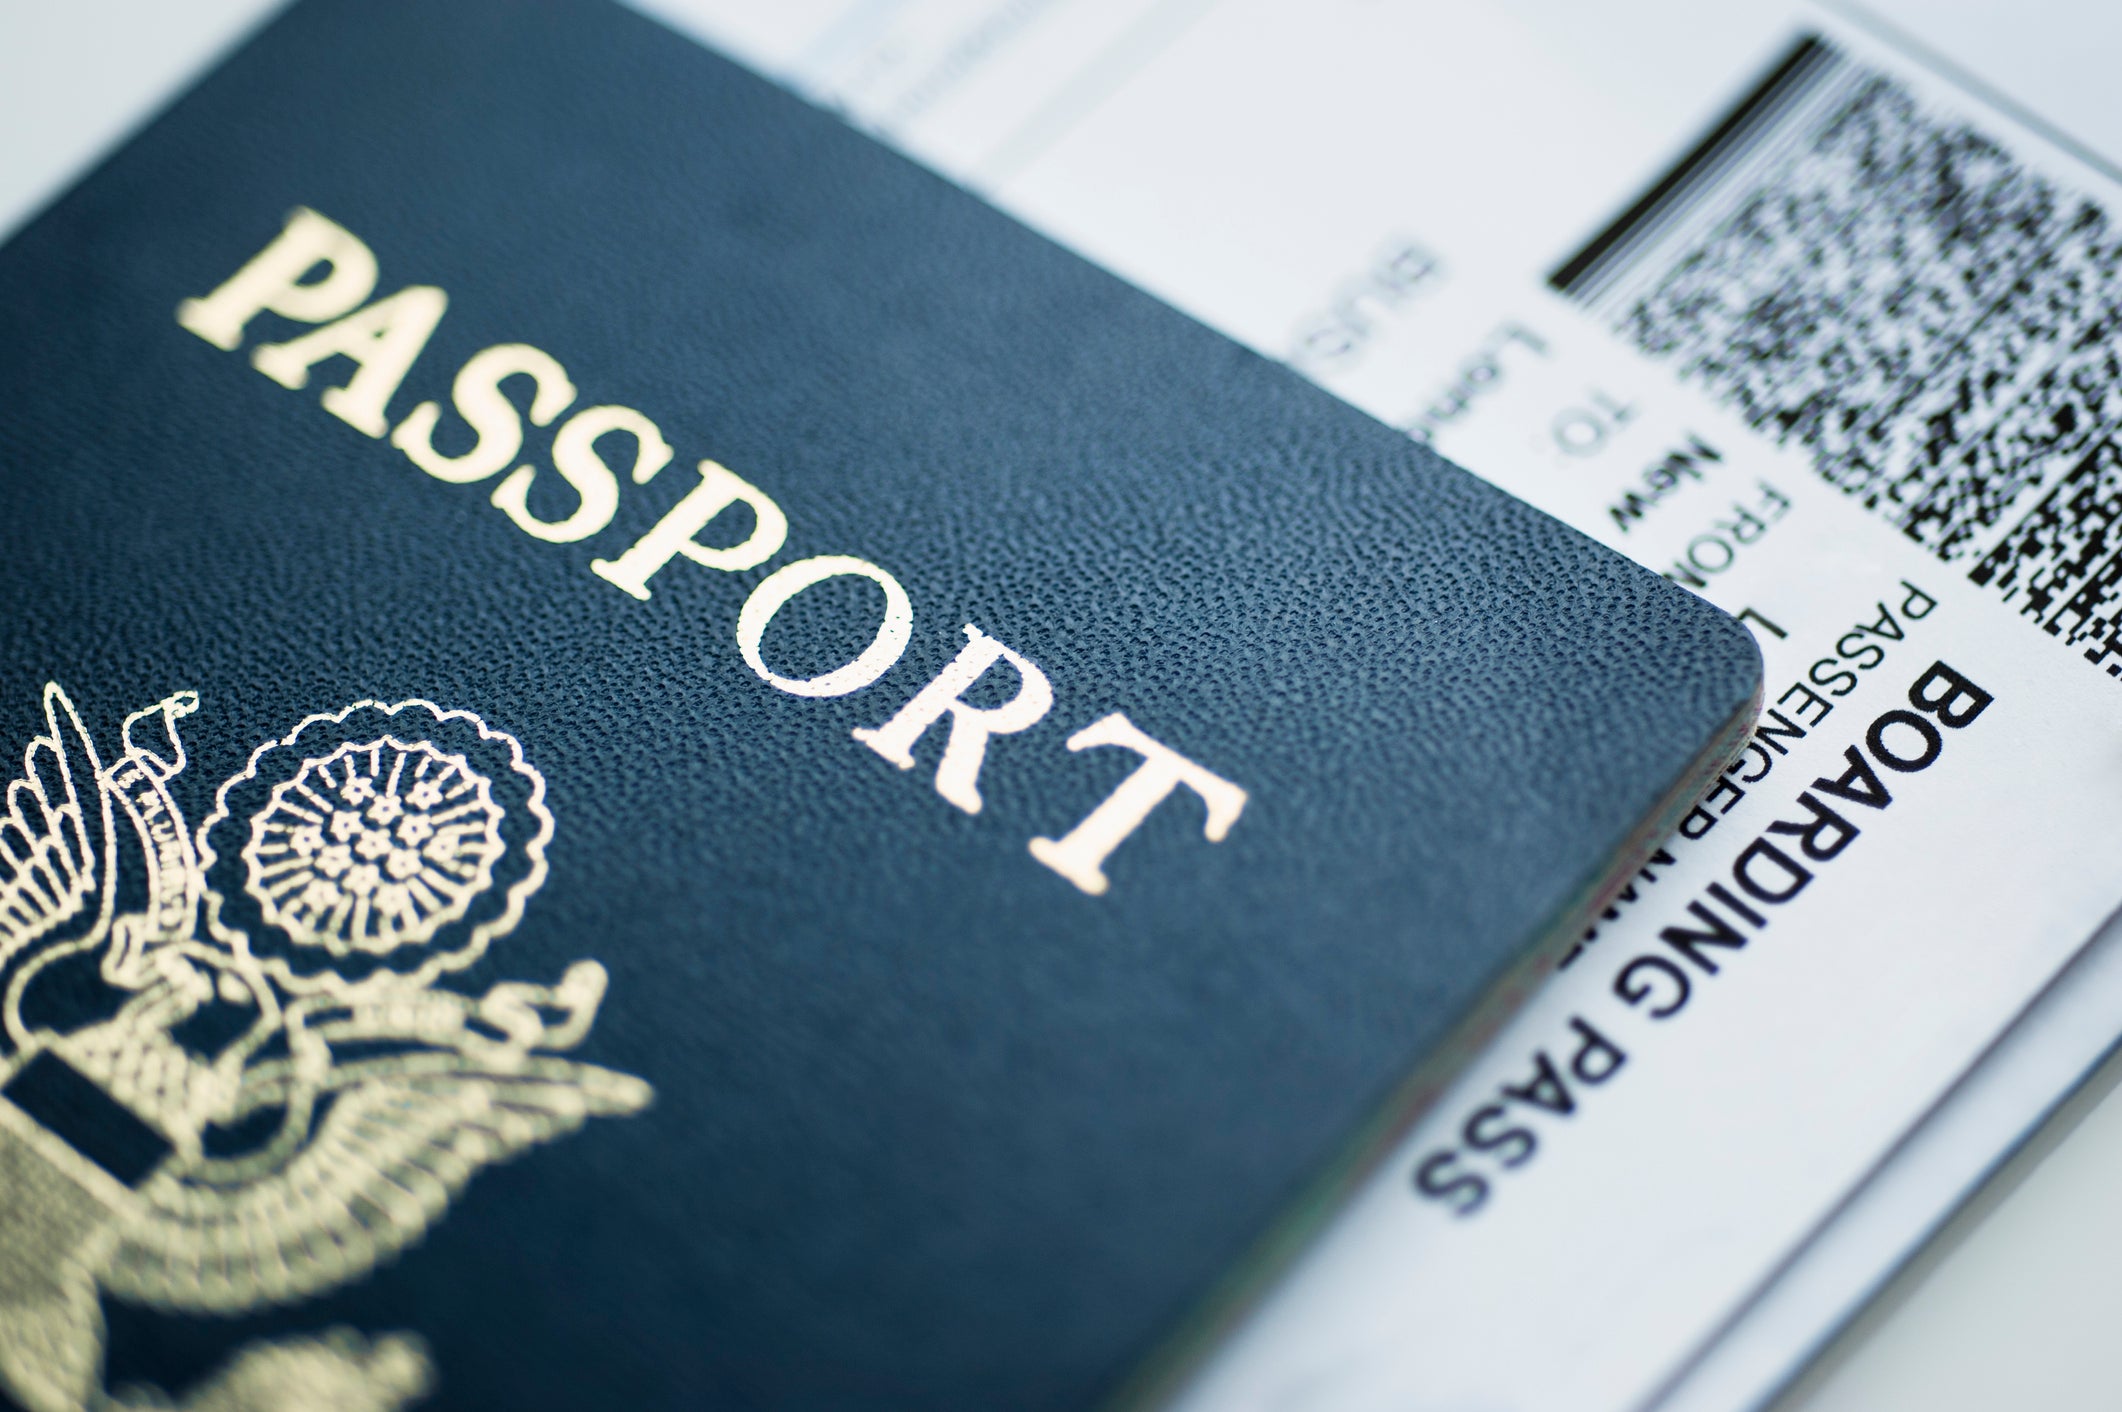
Navigating the Passport Application Process in India
Embarking on international travel from India requires a crucial document – the passport. Whether you're a first-time applicant or seeking a renewal, understanding the passport application process is vital. This comprehensive guide aims to walk you through the steps, ensuring a smooth journey from application to the coveted passport in your hands.
1. Understand Passport Types and Eligibility:
Before diving into the application process, it's essential
to know the types of passports available. India issues Regular Passports,
Diplomatic Passports, and Official Passports. Ensure you meet the eligibility
criteria based on your purpose of travel.
2. Gather Necessary Documents:
To initiate the passport application, gather the required
documents:
- Proof
of Identity (Aadhaar Card, Voter ID, PAN Card)
- Proof
of Address (Utility bills, Rental Agreement, Aadhaar Card)
- Birth
Certificate
- Passport-sized
Photographs
- Educational
Qualification Certificates (if applicable)
3. Online Registration:
Visit the official Passport Seva website
(https://portal2.passportindia.gov.in/) and register for a new account. Fill in
the essential details and create a login ID. Save the generated Application
Reference Number (ARN).
4. Complete the Application Form:
Log in with your credentials and fill in the online
application form. Provide accurate information, cross-checking details such as
name, date of birth, and address. Select the desired passport type and
processing mode (Normal or Tatkaal).
5. Pay the Application Fee:
After completing the form, pay the applicable fee online.
The fee varies based on the type of passport and processing mode. Here is a
general breakdown:
- Normal
Application: Rs. 1,500 (36 pages) or Rs. 2,000 (60 pages)
- Tatkaal
Application: Rs. 3,500 (36 pages) or Rs. 4,000 (60 pages)
Keep the payment receipt as it contains the Transaction ID
required for scheduling appointments.
6. Schedule an Appointment:
Using the ARN and payment receipt, schedule an appointment
at the nearest Passport Seva Kendra (PSK). Select a convenient date and time
for your visit.
7. Visit Passport Seva Kendra (PSK):
On the appointed date, visit the PSK with the necessary
documents in original and photocopies. Biometric information such as
fingerprints and photographs will be collected during this visit.
8. Police Verification:
Post the PSK visit, the police will conduct a verification
process at your registered address. Ensure you are available during the
specified period and cooperate with the authorities.
9. Passport Printing and Dispatch:
Once the verification is successful, your application moves
to the printing stage. The passport is then dispatched to your registered
address. Track the status online using your Application Reference Number.
10. Receiving the Passport:
Upon receiving the passport, cross-check all details for
accuracy. The standard processing time for a passport is approximately 30 days
from the date of the PSK visit.
Tips for a Smooth Process:
- Accuracy
is Key: Ensure all details in the application form are accurate and
match your supporting documents.
- Early
Planning: Initiate the process well in advance, especially if you have
upcoming travel plans.
- Document
Organization: Keep all documents neatly organized in a folder for easy
access during appointments.
Conclusion:
Securing your passport is a pivotal step toward exploring
the world. By following this step-by-step guide, you can navigate the
application process with confidence. Remember, attention to detail and
adherence to the official guidelines contribute to a seamless passport
acquisition experience.
Frequently Asked Questions (FAQs)
1. Is police verification mandatory for all passport
applications?
Yes, police verification is a crucial step in the passport
application process. After visiting the Passport Seva Kendra (PSK), local
police authorities conduct verification at the applicant's registered address.
Cooperation during this verification process is essential for the timely
issuance of the passport.
2. What should I do if I need to change details on my
passport after issuance?
If there are errors or changes needed after receiving the
passport, applicants can apply for a re-issue. This may be necessary for
changes in personal details, addresses, or other relevant information. The
process for re-issue follows similar steps to the initial application.
3. Can I submit multiple applications simultaneously for
family members?
Yes, the Passport Seva website allows individuals to submit
multiple applications for family members through a single login account. This
streamlined process facilitates the simultaneous application for passports for
family members.
4. Are there any restrictions on passport photograph
specifications?
Yes, there are specific guidelines for passport photographs.
They must be recent, in color, and against a light-colored background. Facial
features should be clearly visible, and the photograph should adhere to the
specified size and dimensions outlined in the guidelines.
5. Can I reschedule my appointment at the Passport Seva
Kendra?
Yes, applicants can reschedule their appointments at the
Passport Seva Kendra if needed. The Passport Seva website provides options for
rescheduling appointments, allowing flexibility for applicants who may face
unforeseen circumstances.

Comments
Post a Comment